
It was 11:42 PM on a Tuesday. I was putting the finishing touches on a massive project when my arm twitched, sending a mug of sweet, sticky latte directly into my keyboard. The screen flickered once, made a sickening pop, and went completely black. My heart dropped. I did what almost everyone does in a panic: I grabbed a towel, wiped the surface, and immediately pushed the power button. That was my first and most expensive mistake. If you are staring at a dead device right now, do not touch that button again. I managed to resurrect my machine, and today I am going to show you how to salvage your motherboard before the liquid ruins it forever. We will cover the exact steps to stop corrosion in its tracks and give your hardware a fighting chance.
Is a liquid spill actually a permanent death sentence for your laptop?
Many people assume that once a device goes black after a wet accident, the motherboard is immediately fried beyond repair. But that is not always true. While liquid damage is serious, the real killer isn’t always the initial splash; it is the electricity flowing through wet components and the slow corrosion that follows. According to research by electronics repair experts, mineral deposits left behind by liquids like coffee, soda, or juice do more long-term damage than water itself. If you act fast and cut the power instantly, your chances of survival skyrocket. In my early days, I made the mistake of trying to dry my machine with a hairdryer on hot, which actually melted some keycaps and pushed moisture deeper into the chassis. To avoid making a bad situation worse, you need to know why you should never use your laptop on a soft blanket or uneven surface while trying to dry it out, as airflow is your absolute best friend right now. Have you ever experienced that stomach-churning moment of watching liquid seep under your keyboard keys? Let me know in the comments if you are dealing with a fresh spill right now so we can get it sorted.
First Steps After the Spill
The moment liquid hits your machine, the clock starts ticking. Think of your laptop’s motherboard like a complex city grid where water acts as a massive flood, short-circuiting power lines and causing instant chaos. You need to cut the power immediately. Do not wait for the operating system to shut down gracefully. Hold down the power button for a full ten seconds until the lights go out. If you have a removable battery, pull it out immediately. Next, unplug all external devices. If you are using any must-have laptop accessories for a seamless setup like an external mouse or a flash drive, yank them out. Leaving them connected can allow current to travel and cause damage to secondary ports.
The Tent Method and Initial Draining
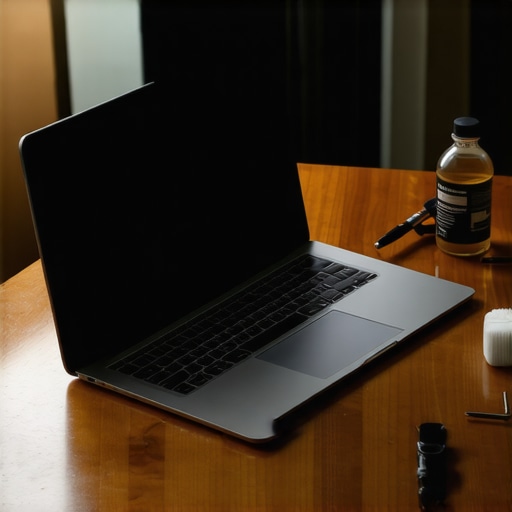
Once the power is cut, open the laptop screen as wide as it will go and flip the entire device upside down. Place it on a flat, stable surface in a ‘tent’ shape. This relies on gravity to pull the liquid down and away from the delicate motherboard components rather than letting it pool deeper inside. I remember a time when I spilled orange juice on a friend’s high-performance machine. In a rush, we flipped it, but left it on a plush microfiber towel. The lack of airflow underneath trapped the sticky moisture, making the cleaning process twice as difficult later. Airflow is crucial; do not smother the device. Leave it in this tent position for at least several hours before you even consider opening the chassis.
Opening the Chassis and Assessing the Damage
If you want to truly save your investment, especially if you are dealing with premium hardware like game-changing gaming laptops for serious players in 2025, you must open the back cover. This requires precision. You should always use the correct screwdriver size to avoid stripping the screws. Before you touch any internal components, you must discharge any static electricity built up on your body. Understanding how to properly ground yourself before opening a laptop is vital to prevent accidental static discharge from frying a chip that actually survived the initial spill.
Dealing with Corrosion and Cleaning the Board
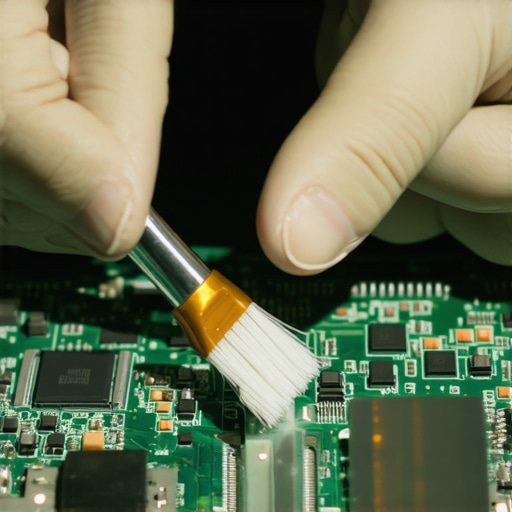
Once inside, look for signs of residue. Water leaves white, powdery spots, while sugary drinks leave sticky dark pools. This residue is the precursor to corrosion, which acts like rust eating away at metal pipes. To clean this, you need 99% Isopropyl Alcohol. Do not use standard rubbing alcohol, which contains too much water. Use a soft-bristled toothbrush dipped in the alcohol to gently scrub away the sticky spots on the board. The alcohol dissolves the residue and evaporates almost instantly without leaving water behind. Pay extra close attention to the small metal pins around chip sockets and ribbon cable connections, as these are highly vulnerable to corrosion.
The Waiting Game is Non-Negotiable
After a thorough cleaning, the temptation to put everything back together and test it is incredibly strong. Resist it. Liquid can hide in tiny crevices beneath microchips. If you turn on the machine while even a single drop remains, you risk sending voltage where it doesn’t belong. Let the disassembled laptop dry in a warm, dry room with good air circulation for at least 24 to 48 hours. Putting it back together too early is the primary reason most DIY repairs fail.
Is the Rice Method Actually Killing Your Motherboard?
Let’s address the massive elephant in the room: uncooked white rice. Almost everyone on the internet will tell you to toss your wet laptop into a bag of rice. In my experience, this is the single worst piece of advice you can follow. While rice does absorb surface moisture, it also releases fine starch dust that enters your laptop’s vents. This dust mixes with the liquid residue inside to create a highly conductive, corrosive paste that cements itself onto your silicon. A comprehensive study by emergency data recovery firm Tekmart confirmed that desiccants like rice fail to lower internal relative humidity fast enough to prevent micro-corrosion. If you want to rescue your system, skip the pantry and focus on proper airflow instead.
Another common trap is assuming your computer is perfectly fine because it booted up normally thirty minutes after a spill. This is a dangerous illusion. Corrosive reactions do not happen instantly; they slowly eat away at the copper traces over days or weeks. I once saw a student who thought they dodged a bullet after spilling tea on one of their student laptops that balance power and portability perfectly, only for the machine to completely die during midterms two weeks later because of creeping oxidation. Do not celebrate early. If you do not open the chassis to clean the residue, you are simply playing Russian roulette with your hardware.
Why High-End Hardware is More Vulnerable to Liquid Damage
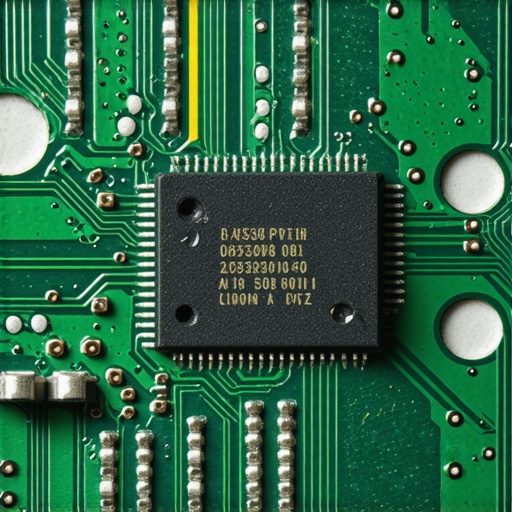
You might think that premium build quality offers better protection, but the opposite is often true. High-performance systems, such as game-changing gaming laptops for serious players in 2025, pack components incredibly close together to maximize space. Because of this high density, even a tiny drop of liquid can bridge the gap between a high-voltage power rail and a sensitive low-voltage data line, instantly frying the CPU or GPU. Furthermore, these machines pull in massive amounts of air to stay cool. If you spill liquid near the intake vents while the fans are spinning at maximum speed, the laptop actively sucks the moisture inside and atomizes it across the entire motherboard.
This is why understanding the real reason your gaming laptop feels sluggish on battery and managing your power states is so critical. If your system is running hot and drawing maximum power when a spill occurs, the thermal stress combined with the liquid short-circuit will cause catastrophic physical damage to the PCB. Have you ever fallen into this trap and tried the rice trick or turned a wet device back on too early? Let me know in the comments below so we can talk about how you salvaged it.
When you are trying to pull a system back from the brink of liquid damage, relying on luck is a losing strategy. You need a dedicated toolkit. I keep a physical ‘rescue kit’ in my desk drawer at all times. It contains a high-quality screwdriver set with ESD-safe handles, a can of compressed air, 99% isopropyl alcohol, and several anti-static brushes. If you have premium business hardware, keeping these tools ready is just as important as knowing the best way to back up your laptop data daily. If the worst happens, you do not want to be searching for tools while a sugary drink eats through your circuits.
How do I maintain my laptop hardware to prevent permanent liquid damage?
True hardware resilience comes from proactive maintenance and smart physical setups. First, I highly recommend using a raised stand. Elevating your device even an inch off your desk surface ensures that a spilled drink simply pools underneath the chassis rather than flowing directly into the lower vents. Additionally, investing in silicone keyboard covers is an incredibly cheap insurance policy for writers and students who constantly work around coffee. Beyond physical barriers, running regular hardware diagnostics is crucial. I use HWInfo64 to monitor motherboard voltages and temperature sensors weekly. If a minor spill occurred in the past and left behind microscopic corrosion, you will often notice a slow, unexplained rise in idle temperatures or minor voltage fluctuations on your power rails before the system completely fails.
The Pro Tools I Use for Deep Board Cleaning
When simple scrubbing with a toothbrush isn’t enough, professional repair technicians turn to ultrasonic cleaning tanks filled with specialized solvents like Branson EC. While a full ultrasonic bath might be overkill for a casual user, you can mimic this process at home. I use a chemical squeeze bottle to flush hard-to-reach areas underneath PCIe slots and RAM sockets with isopropyl alcohol, allowing the fluid to carry away hidden particles. According to the IPC-A-610 standards (the international benchmark for electronic assembly acceptability), even tiny residue particles can cause dendritic growth—microscopic metal whiskers that grow between contacts over time when exposed to moisture and electrical current, eventually causing a short circuit.
Looking ahead, the industry is slowly moving toward hydrophobic nano-coatings on internal electronics. Some manufacturers are beginning to experiment with IP-rated motherboards for ultra-portable systems, but until that becomes standard on high-end rigs, manual intervention remains your only safety net. If you are currently dealing with a spill, my advanced challenge to you is to skip the panic, grab some 99% isopropyl alcohol, open that chassis cover, and clean those copper contacts yourself instead of waiting for the creeping corrosion to claim another victim.
The Hardest Lessons I Learned Resurrecting Water-Damaged Laptops
Over the years, I have cleaned dozens of liquid spills, and experience is a brutal teacher. First, time is your ultimate enemy; every minute liquid sits on a powered-on circuit increases the risk of electrochemical oxidation. Second, sticky residues from coffee or soda behave like magnets for humidity, which means a simple air-dry without cleaning the physical board is a ticking time bomb. Finally, never trust a computer that works immediately after a spill; invisible micro-corrosion can take weeks to sever a trace on the PCB. If you are dealing with premium hardware, knowing why we always choose laptops with two ram slots can also make physical troubleshooting easier when testing individual memory sticks after a cleanup.
The Emergency Toolbox to Keep in Your Desk Drawer
When panic strikes, you do not want to be searching for tools. I highly recommend keeping a dedicated electronics rescue kit nearby containing these specific items:
- 99% Isopropyl Alcohol (IPA): The industry standard for dissolving sticky sugars and displacing water without leaving conductive residue.
- ESD-Safe Brushes: Essential for scrubbing away mineral scale around micro-soldered surface-mount components.
- An ESD Wrist Strap: Grounding yourself is critical when working with raw circuit boards. Learn how to properly ground yourself before opening a laptop to avoid discharging static electricity into surviving chips.
- A Multi-Bit Precision Screwdriver Set: Crucial for opening proprietary backplates without stripping the delicate screws.
Your Action Plan to Defeat Liquid Corrosion
Accidents are bound to happen, but they do not have to mean a costly trip to the electronics recycling bin. By staying calm, keeping the power off, and opening up the chassis to clean the motherboard yourself, you can outsmart the creeping corrosion that claims so many devices. Take control of your hardware, keep your workspace prepared, and protect your digital life from unexpected disasters.
Have you ever tried to save a wet laptop?
Did you fall for the old uncooked rice myth, or did you manage to save your system using isopropyl alcohol? Let me know your rescue stories in the comments below!