
I remember the exact moment my heart sank. I had just spent three days editing a friend’s engagement photos on my trusty student laptops setup. I was so proud of the warm, sunset glow I’d added to every frame. But when the physical prints arrived in the mail, they didn’t look ‘golden’—they looked like everyone had a severe case of jaundice. It was a classic rookie mistake. I was trusting a screen that was designed to sell laptop deals with punchy, oversaturated colors rather than showing me the truth. If you’ve ever wondered why your laptop screen looks yellow and how to fix it, you’re not alone. The good news is you don’t need to drop hundreds of dollars on a colorimeter to get your workflow back on track. We’re going to fix your color accuracy today using nothing but your eyes and the tools already hidden in your OS. Have you ever had that ‘print-to-screen’ heartbreak where the colors just didn’t match? Let me know in the comments because I felt like I was losing my mind until I figured this out.
The Moment I Realized My Screen Was Lying
I’ll be honest: I used to think I needed a high-end studio monitor to get professional results. I even spent weeks researching how to find laptops with high color accuracy for cheap because I was so frustrated with my current gear. But the truth is, most of us are working on screens that are just ‘set’ wrong out of the box. Even the disappointing reality of budget 4k gaming monitors is that they often sacrifice color depth for resolution. According to the color science experts at RTINGS, a Delta E (the measure of color difference) under 2.0 is considered professional grade, yet many consumer laptops ship with a Delta E of 5.0 or higher. I made the massive mistake of editing with my ‘Night Light’ filter on for a month, wondering why every photo I exported looked incredibly blue the next morning. It was embarrassing, but it taught me that calibration is a ritual, not a luxury. You have to strip away those manufacturer ‘enhancements’ to see your photos for what they really are.
Does Free Software Actually Beat Professional Gear?
You might be skeptical. Can a slider on a screen really replace a $200 hardware sensor? For hobbyists and most social media photographers, the answer is a resounding yes. While a hardware tool is more precise, manual calibration gets you 90% of the way there for 0% of the cost. We are going to dive into the gamma, white balance, and contrast settings that are likely sabotaging your edits right now.
Clear the Path for Accuracy First
Before you even look at a slider, your physical environment needs to be as neutral as possible. I once tried to calibrate my screen in a room painted a vibrant sky blue. I didn’t realize it at the time, but the blue light bouncing off the walls was making my eyes compensate, leading me to make every photo far too warm. Now, I keep my curtains closed and use a single neutral LED lamp. You also need to ensure the hardware itself is ready. Start by giving it a thorough wipe-down; check out the best way to clean your laptop surfaces to make sure you aren’t confusing a thumbprint for a color cast. While you’re at it, how to check your laptop screen for dead pixels like a pro is a great first step to ensure your panel is even worth the effort.
Kill the Automated Settings That Sabotage Your Vision
Your operating system is designed to be ‘pleasing’ to the eye, not accurate. If you are using student laptops that balance power and portability perfectly, chances are they have some form of ‘Adaptive Brightness’ or ‘Night Light’ enabled by default. These are the enemies of color work. Go into your display settings and disable anything that says ‘auto-adjust,’ ‘true tone,’ or ‘blue light filter.’ These features are great for late-night scrolling, but they act like a filter over your vision. I remember a horrific week where I thought my laptop’s backlight was dying, only to realize Windows was ‘optimizing’ my brightness based on the battery level. If you’re worried about your hardware, understanding how to fix your laptop screen if the backlight dies is helpful, but usually, it’s just a stubborn software setting.
Dialing in the Gamma Without a Sensor
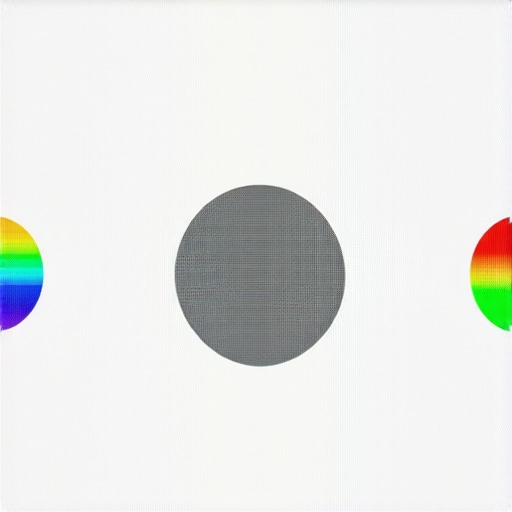
Now, type ‘Calibrate display color’ into your Windows search bar or go to Display Settings on a Mac. The most important slider you’ll touch is Gamma. Think of Gamma as the control for how your screen transitions from black to white. If it’s too high, your shadows disappear into a muddy mess; too low, and everything looks like a flat, washed-out mess. The goal is to make the dot in the center of the test pattern disappear. It’s like squinting at a Magic Eye poster—once it clicks, you see the ‘true’ middle ground. This is especially tricky on the truth about matte vs glossy screens for office productivity panels, as matte screens tend to diffuse the light differently, making the gamma target look slightly softer.
The Neutrality Test for Grays
After Gamma, you’ll be asked to look at white and gray bars. This is where most people fail. You are looking for ‘neutrality.’ If your grays look slightly pink or slightly green, your white balance is off. Most business laptops for professionals are tuned for clarity in spreadsheets, which often means they have a ‘cool’ or blueish tint to make the whites look ‘whiter.’ Use the RGB sliders (Red, Green, Blue) to strip that tint away. I once had a laptop that leaned so heavy into the blues that I didn’t realize a bride’s dress was actually cream-colored until it was too late. Getting your grays right ensures that why your laptop screen looks different next to an iMac won’t be as jarring when you finally see your work on a high-end display.
Matching Your Workspace to Your Output
Finally, consider your brightness. Most people work with their screens way too bright. If you’re at 100% brightness, your prints will always come out too dark because you’ve overcompensated during editing. Aim for about 120 nits, which is usually around the 50-60% mark on most modern displays. This is a common pain point when discussing the best laptop screen brightness for working in direct sunlight, as you’re constantly fighting the environment. For serious editing, consistency is king. If you change your brightness halfway through a session, you’ve essentially reset your baseline, and you’ll spend hours wondering why your shadows look different across a series of photos.
Let’s dig deeper because the ‘one-and-done’ mindset is exactly where most creators fail. Everyone tells you to hunt for the highest resolution possible, but in my experience, a 4K screen with poor color coverage is actually worse than a 1080p screen with 100% sRGB. If you’re looking at laptop deals, don’t just look at the ‘4K’ sticker. A high-resolution screen can still suffer from ‘banding’ if it only has a 6-bit or 8-bit panel. You want that smooth gradient in the sky, not a series of ugly steps. I once bought one of those student laptops that balance power and portability perfectly, only to realize the screen was optimized for battery life, not color. It was a massive ‘oops’ moment that cost me a week of re-editing.
Why does your screen look different when you unplug the charger?
This is the hidden nuance that drives professionals crazy. Many business laptops for professionals and even high-end rigs have ‘power-saving’ color profiles baked into the firmware. The moment you pull the plug, the GPU throttles the color bit-depth or shifts the white balance to save a few milliwatts. Research by display analysts at Portrait Displays suggests that even premium panels can experience a shift in Delta E by as much as 2.0 depending on the power source. If you’re editing on the go, you must learn how to force your laptop to use the dedicated gpu in every app to ensure you aren’t seeing a ‘watered-down’ version of your work. 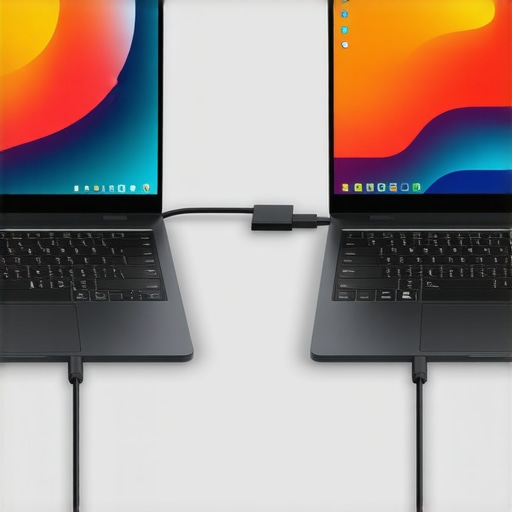
Calibration is a moving target
Here is the hard truth: screens are organic components that age. The phosphors and LEDs in your backlight degrade at different rates. A study from X-Rite highlights that a display’s color output can drift noticeably within just 200 to 300 hours of use. If you calibrated your screen six months ago and haven’t touched it since, you’re likely working with a ‘ghost’ of that accuracy. This is especially true for game-changing gaming laptops for serious players in 2025 that run hot; heat accelerates this drift. I used to think my eyes were just tired at the end of the day, but it was actually the real reason your laptop power brick is getting extremely hot and causing internal thermal shifts that affected the panel’s consistency.
Don’t let software enhancements lie to you
Many manufacturers bundle ‘visual enhancement’ software that claims to make movies look better or games look more vibrant. While these might seem like must-have laptop accessories for a seamless setup, they are actually destructive to your workflow. They apply a non-linear contrast curve that makes it impossible to see true shadow detail. Always look for a ‘Native’ or ‘Standard’ mode in your display utility. Before you decide why you should trade your laptop every two years to save money, try a deep-clean calibration first. Have you ever fallen into the trap of editing a whole project only to realize your ‘Night Mode’ was on or your power settings shifted the colors? Let me know in the comments because I need to know I’m not the only one who has made these advanced mistakes.
I’ve seen too many creators give up after their first manual calibration because the process feels too subjective. If you’ve reached the point where you’re squinting at gamma bars and wondering if you’re actually seeing pink or if it’s just your tired brain, it’s time to move toward a more permanent, hardware-based solution. Even when you score incredible top laptop deals in 2025, the factory calibration is often just a generic profile applied to a million units. Personally, I stopped guessing and invested in a hardware colorimeter like the Calibrite Display Pro. It’s a small sensor that hangs over your screen, and when paired with open-source software like DisplayCAL, it creates a profile tailored specifically to your unique piece of glass. This is the only way to achieve a professional-grade workflow without the constant second-guessing that ruins a good editing session.
Stop relying on your eyes and get a hardware sensor
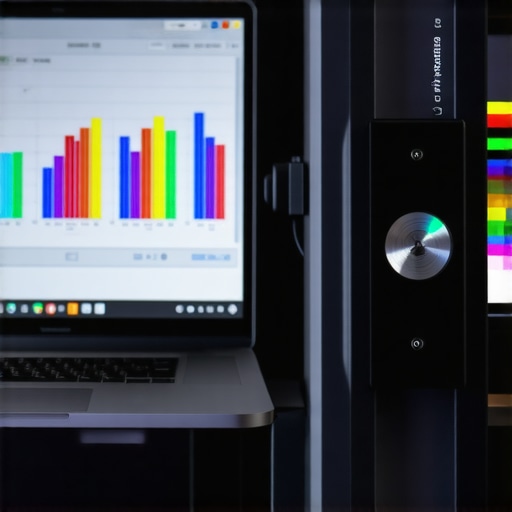
According to the International Color Consortium (ICC), a custom ICC profile is the only way to ensure your specific panel’s unique characteristics—from its backlight age to its manufacturing variance—are properly mapped for your software to interpret correctly. I remember the first time I ran a hardware calibration on what I thought was one of the top business laptops for productivity in 2025. I was shocked to find my greens were nearly 15% off-base. Using a sensor allows the computer to ‘see’ exactly what the screen is emitting, bypassing your eyes’ natural tendency to adapt to color shifts. If you’re doing high-stakes work, the $150–$200 investment in a sensor pays for itself the first time you don’t have to pay for a costly re-print of a client’s project.
How do I maintain my display’s color accuracy over time?
Maintenance is where most people fall off the wagon. You can’t just calibrate once and expect it to hold forever. I make it a habit to re-calibrate every two to four weeks. Beyond software, physical cleanliness is vital. Dust particles can actually create a microscopic layer of diffusion that affects how light reaches your eyes or your sensor. I’ve found that learning how to clean the dust out of your laptop without opening it is just as important as wiping the screen. Heat is another silent killer of precision; internal components running too hot can cause the liquid crystals in your panel to behave inconsistently. I always utilize the best ways to cool a laptop without a massive fan pad to keep my workstation at a stable temperature. Finally, if your screen starts developing permanent yellowing or artifacts that calibration can’t fix, you might need to look into the only 3 brands that still make easily-repairable laptops so you can swap the panel rather than tossing the whole machine.
The coming shift toward self-correcting panels
Looking toward the future, I expect the need for manual calibration to slowly fade as AI-driven sensors become integrated into the bezel of every premium laptop. We are already seeing high-end monitors that self-calibrate during off-hours. In the next few years, your laptop will likely use its own webcam and ambient light sensors to adjust your ICC profile in real-time as your room’s lighting changes or as the backlight ages. Until then, the responsibility falls on us to maintain the standards. I strongly encourage you to download a free tool like DisplayCAL today and run a basic verification report on your current screen. It’s an eye-opening experience that will show you exactly how much your monitor has been lying to you. Don’t wait until your next project is ruined by a ‘jaundice’ tint—take control of your colors now.
Lessons I Learned While Chasing Perfect Color
One of the biggest eye-openers was realizing that even the most expensive business laptops for professionals can be ‘color-blind’ if the ambient lighting isn’t controlled. I used to edit in a sun-drenched room, not knowing the glare was forcing me to over-saturate my shadows. Now, I always use a monitor hood or dim the lights. Another lesson: don’t trust the ‘vivid’ presets. They are designed to sell units on a shelf, not to help you edit a wedding video. I’ve found that how to find laptops with high color accuracy for cheap is actually possible if you prioritize sRGB coverage over 4K marketing hype. Lastly, remember that your eyes adapt quickly; always take a 5-minute break in a neutral room before making final color decisions to avoid ‘color fatigue’ that leads to muddy results.
My Personal Toolkit for Professional Accuracy
If you’re serious about your craft, you need more than just the built-in Windows sliders. I rely on DisplayCAL, which is a powerful, open-source calibration tool that offers much deeper control than standard OS utilities. For hardware, I trust the Calibrite Display Pro; it’s one of those must-have laptop accessories to boost your work setup that pays for itself in avoided printing errors. I also frequently visit Lagom.nl for their LCD test pages—it’s a fantastic, free way to check your black levels and contrast without installing a single thing. These tools turned my workflow from a guessing game into a precise science.
#IMAGE_PLACE_HOLDER_E#
Taking the First Step Toward a Truer Display
Calibration can feel intimidating, but it is the single most impactful thing you can do for your visual work. When you stop fighting your screen, you start trusting your creative instincts again. Whether you are using high-end game-changing gaming laptops for serious players in 2025 or a budget workstation, your vision deserves to be seen exactly as you intended. Don’t let a poorly tuned backlight steal the impact of your hard work. Go ahead and run that first calibration today—your future self (and your clients) will thank you. Have you ever noticed your screen colors changing when you switch rooms or plug in your charger? Let me know in the comments below!